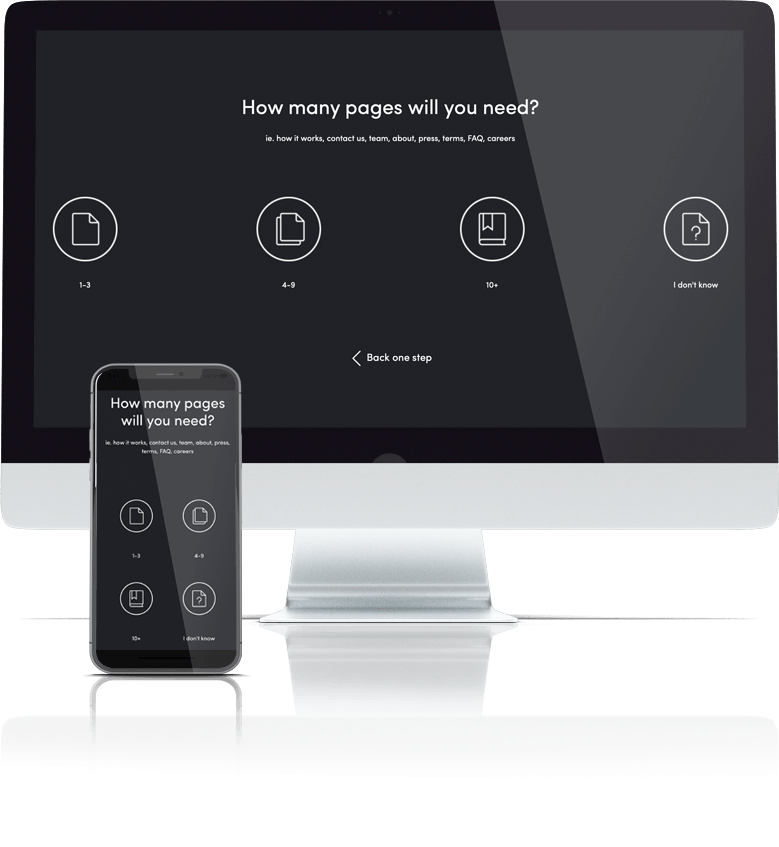
Answer 8 quick questions to get a personalised quote from Webski
November 16 2012

It is very important for every business that wants to have an online presence to have a Facebook Business Account. There are many reasons why, and below are some of them:
If you want to achieve all or some of these goals read below how to advertise on Facebook.
With Facebook Ads you will be able to advertise your website or content you manage on Facebook like Group, Page or Event, to promote your business and get more business fans and to drive more leads. If you have experience with Google AdWords the ad creation process will be very easy to you, but if you don’t have experience with AdWords it would not be a problem because Facebook ad creation process and management tools are very easy to use from everyone who wants to advertise their business on the most popular social network nowadays.
To get started visit https://www.facebook.com/advertising (in order to create an ad you need to be logged in) and click Create and Ad and follow the steps.
After clicking on Create an Ad, go on the page which is split on 4 parts: What do you want to advertise, Design your Ad, Choose Your Audience, Campaign, Pricing and Scheduling. We’ll go through all this Facebook Ads parts.
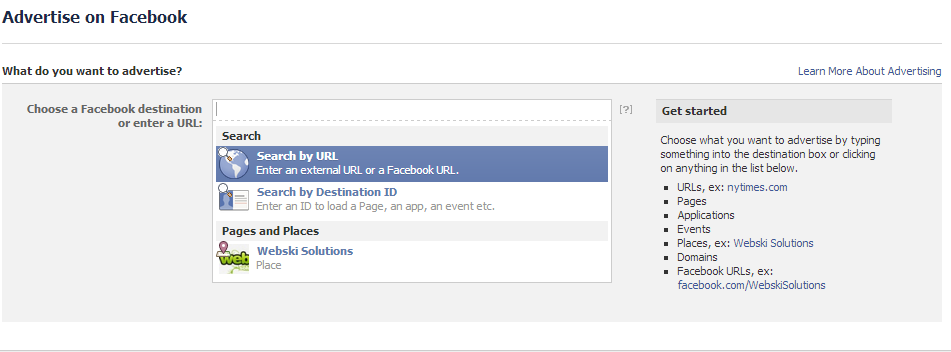
In order to choose what you want to advertise you have an option to Choose Facebook Destination or to enter an URL.

After choosing what to advertise you need to create your Facebook Ad. You need to enter Headline, Text and Upload an Image. After entering all this information you can preview your ad on the right hand column. See how its looks like.

In this section you need to enter the name of one or more countries in order to show your ad or sponsored story only to people in those locations. Select the minimum and maximum age of people and target your audience by gender (male, female, all). Facebook also allows making a target by people interest based on what they have listed as an interest on their personal timeline. You can show your ads or sponsored story only to people who have certain kind of connection to your Page, App or Event by Connection Targeting.

The last part of creating your Facebook Ads is the Campaign, Pricing and Scheduling section. You need to enter Account Currency, Account Country and Account Time Zone. Also you need to give a unique name of your campaign and to enter the max amount you want to spend per day or a lifetime budget. On the Campaign Schedule section you need to decide to run your campaign continuously starting today (by selecting the box) or to set a specific start and end day, deselecting the box. In the pricing section choose CPC (Cost Per Click) or CPM (Cost per Thousand Impression) and specific the amount you want to pay per click or per thousand impression depending on the pricing method you choose.

By following these steps you will easily create your ad. If you have no time to create your ad campaign and to follow the metrics call our Web Design Sydney Company and we will do it for you in the best possible way.
 Web Design
 Telco Drafting
 Marketing, SEO, PPC & Social
 Commercial & Residential
 Graphic Design
 3D Modelling
 Hosting & Support
 Game Development
 Mobile Apps
 Other Services